Battery Pack Cell Replacement
Table of Contents
Overview
The friends I was staying at when I was visiting Paris had recently acquired some second-hand self-balancing boards. The two boards work fine, however the six battery packs they got with them were all basically useless. I volunteered to replace the cells in them for my friends since they were no longer being produced and they didn’t know how to do so themselves.
Learned some new techniques and successfully replaced the cells in two of the battery packs with new ones.
If you want to try giving one of them a spin, head over to their cafe, “VR & Co.”. Unfortunately they have closed down as of fall 2022.
Takeaways
- Working with batteries/cells needs extra considerations compared to circuit with no stored energy
- One can solder directly to cell terminals with the right process (acid)
- Solder wick makes for a decent low-profile conductor
- Fully charge battery packs once assembled before first use!
Detailed Report
My friends I saw staying at in Paris had gotten some used self-balancing boards and battery packs a month or so before I arrived. The boards themselves were fine, they however had issues with the battery packs as none of them held a reasonable amount of energy, the battery that was the best could only run the board for about 30 seconds.
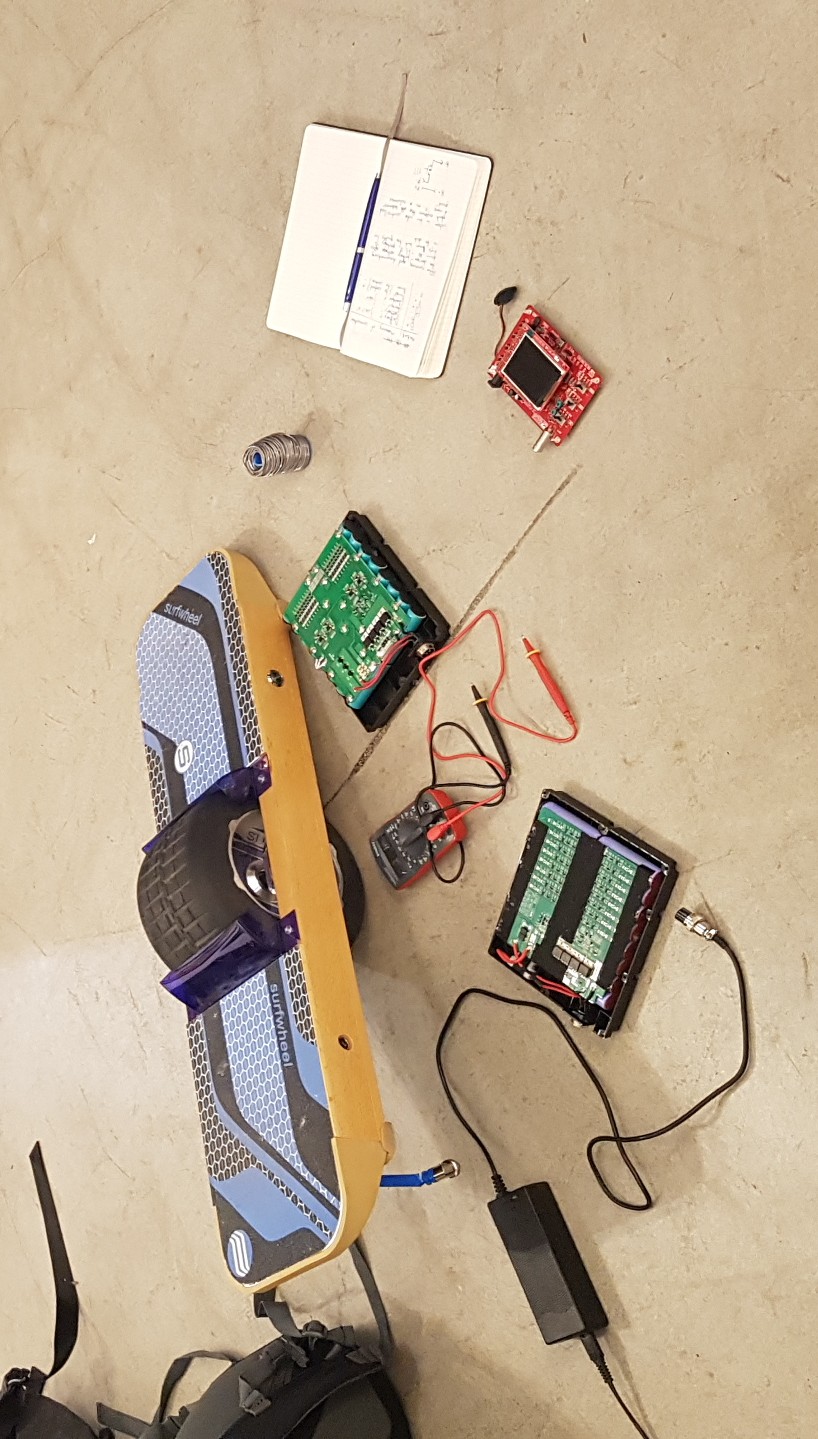
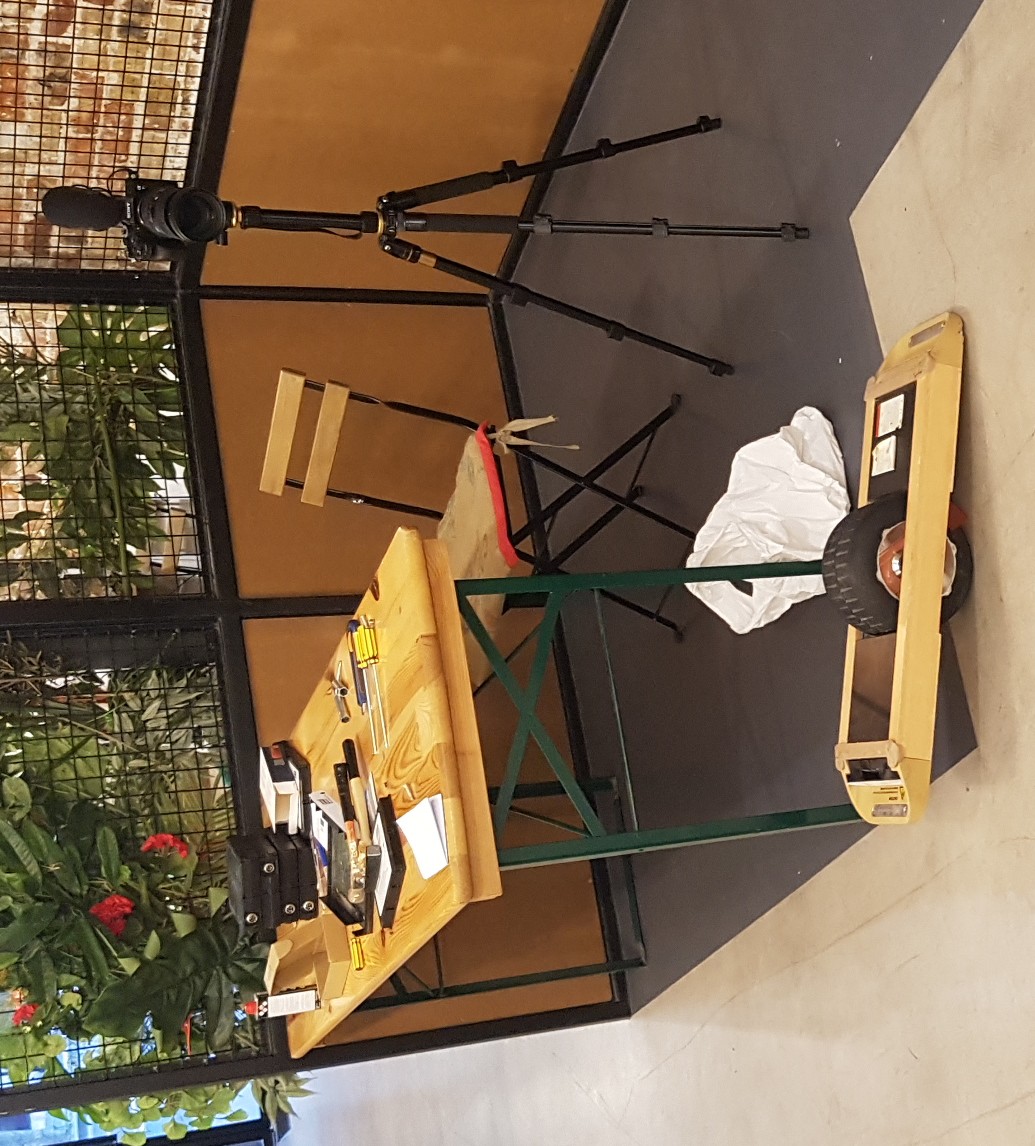
I was doing this on my travels so I didn’t have any of my tools so I worked with the space and tools they had for me, purchasing what I was lacking like a soldering iron and multimeter. Since they maintained a daily vlog they also asked if I was okay with being recorded as part of it so that was fun. It was neat to have camera cameras rolling to catch the sparks flew, metaphorically and literally on occasion.
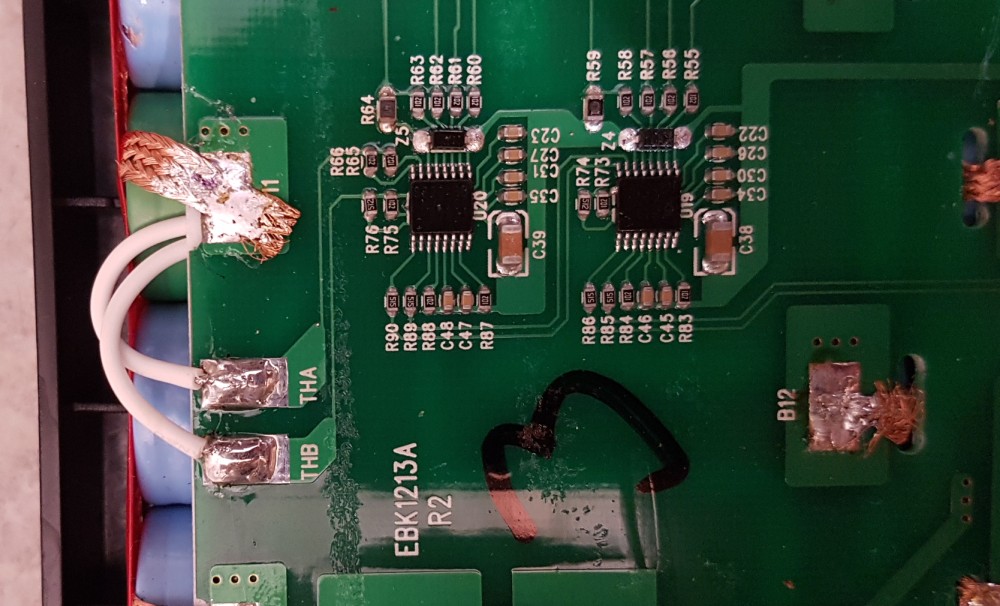
Disassembly
I first started by recording the information on the outside of the battery case and marking them “1” to “6” so I could better keep track of any faults and work per battery. The first thing that I noticed was the high voltage, 57.6 V so I knew to start treading very carefully.
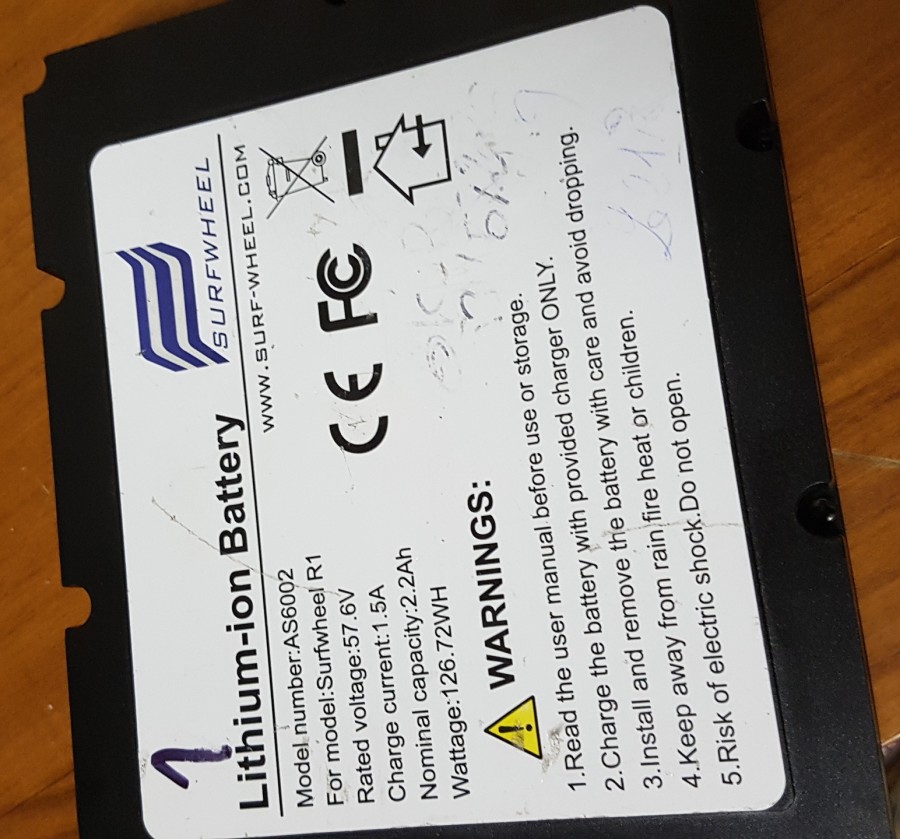
Once that was done, I started to open my first battery pack to see what was inside. I was relieved to see that they were using a chain of 16 standard 18650 lithium cells, hence the high nominal voltage of 57.6 V (16 * 3.6 V). These cells are commonly used for hobbyist projects but also for vapes, so I didn’t expect to have issues sourcing them in the city.
After opening each battery pack I would also mark the board to match it with the case. Although I had no intent to reuse any of the cells I still probed the voltage across each of the 16 cells in each of the six batteries just to see what their health was at out of curiosity. I was expecting them to fall a bit short of the usual 3.6 V, maybe 3 or 2.5, but there were some that were entirely negative!
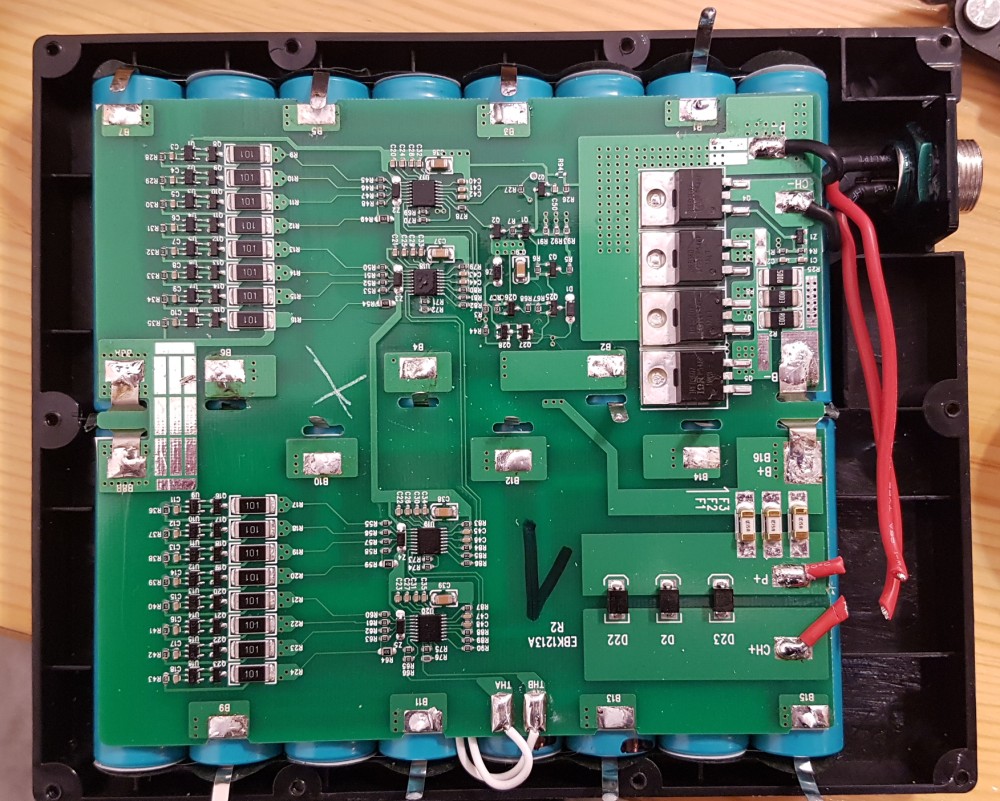
Once I completed my measurements, I separated the boards from the cells by desoldering their tabs and moving them back carefully with a wooden toothpick to avoid shorts. I marked down the boards that had the fewest critically faulty cells on them as the prime candidates to receive the new cells.
Procuring Cells
Who would have thought this was not going to be as easy as I had hoped? Originally I was going to go to a vendor for vapes since they had the lowest prices in town which really makes a difference when you’re buying 32 cells. When I arrived at the address they had on their online storefront, it turned out to be an apartment complex that they were working out of and I had no further direction or way to contact them. At least I saw a different part of town I otherwise wouldn’t have.
I then went to what appeared to be the only DIY/hobbyist specialty store I could find in Paris. Although these cells were about 30% more expensive, they had an larger capacity that should have doubled the theoretical range of the boards!
While browsing the shop, I told the seller about my project to replace these cells and how I was concerned about how I was going to securely connect these cells since I lacked a spot welder and the metal strips typically used. He told me about a previous project of his where they were also trying to connect cells and they stumbled on the hack of pretreating each cell terminal with some weak phosphoric acid and quickly soldering directly to them before the surface could re-oxidize after the acid was removed.
Assembling
With the new cells I went about preparing them to be connected together and then to the board.
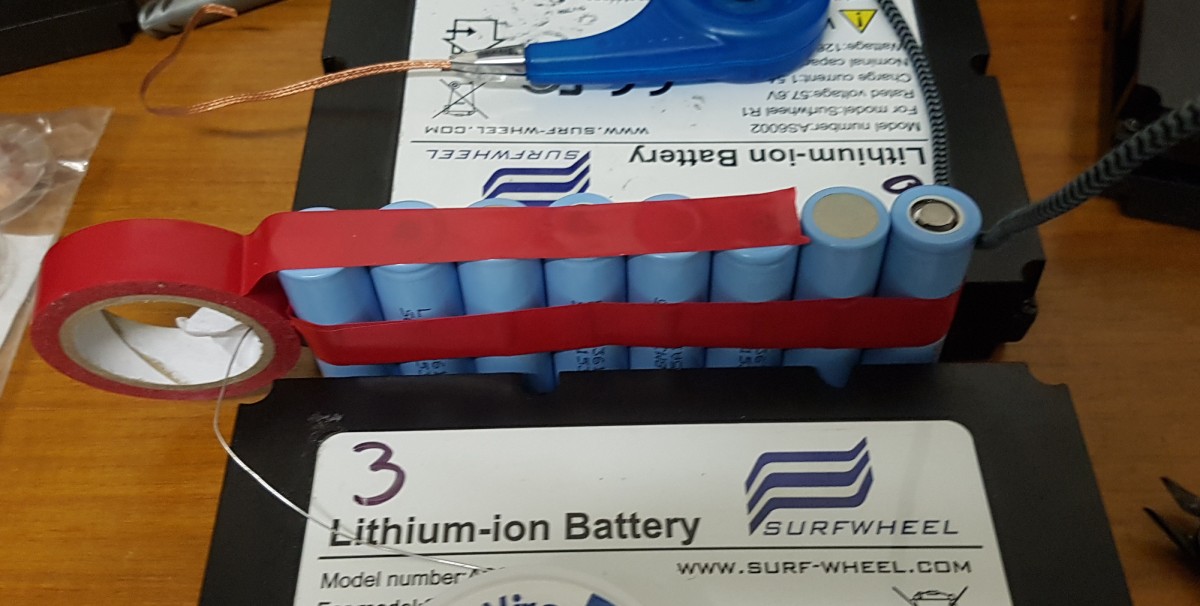
Although I knew how to solder to the cells, I still had an issue. I lacked any sort of plan for making a low-profile connection. The connections had to flat like the metal strips that were originally used since there was little to no space to expand into, especially in the middle where the two sets of cells butt up to one another. Normal wires simply wouldn’t suffice. The answer came as the second hack in this project, using solder braid/wick as a conductor! This was essentially a more flexible copper strip, I could actually fold it to create the tab needed to eventually connect to the board.
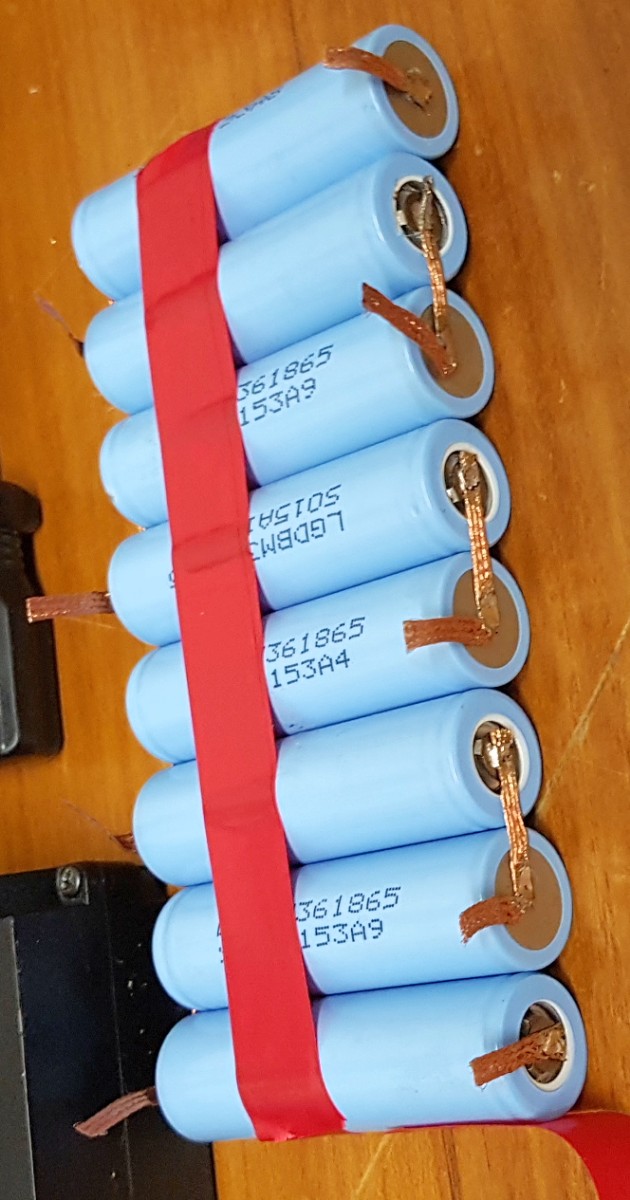
I prepared all four sets of eight cells each I needed for the two battery packs, and then went about putting them together with the boards. This was more precarious than I expected it to be to avoid shorts as I placed the board. The tabs along the outside of the battery could simply be folded out of the way and easily folded back later. This was not possible with the tabs in the middle which needed to be fed through specific holes as the board was lowered. This tasks was complicated by me opting for leads that were a bit short making it hard for me to fit tools underneath safely to manipulate them between the cells and board, as well as the nature of braid fraying at the ends and thus some stray whiskers would make it difficult to pull the tabs through their designated holes.
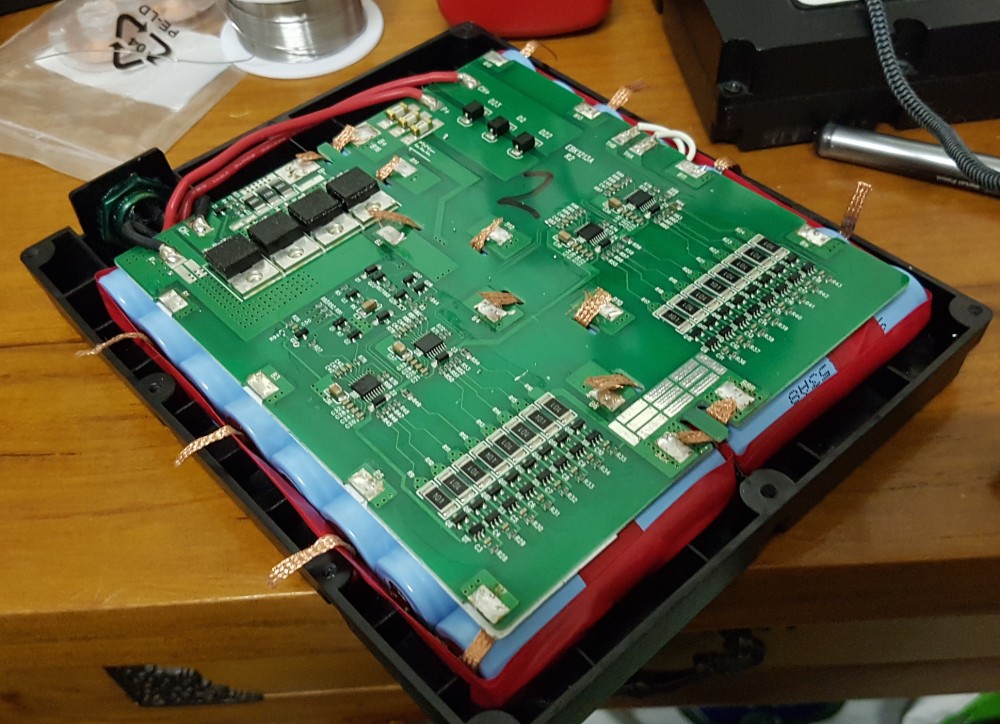
Once the tabs were all fed through the worst was behind me. All that remained was soldering the tabs to the board and closing the case. At this point I offered my friends a chance to try soldering, other than a couple brief accidental shorts (with some spectacular light shows) on all our parts this went pretty smoothly.
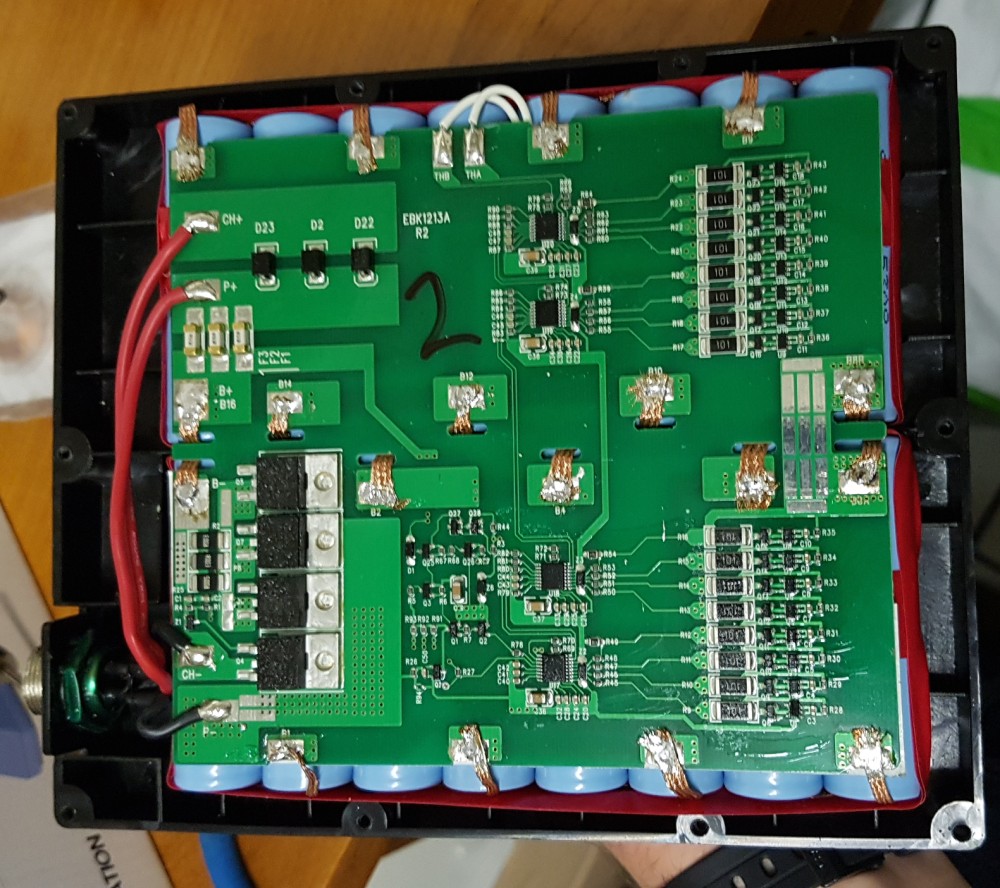
I was satisfied with the soldering on both battery pack in the end. Before closing them I checked that all the cell voltages were acceptable in the event we might have damaged one with the shorts we made. Fortunately for us they were all within the safe range.
Testing
After completing the first battery pack and letting it charge for a little we were excited to see the new batteries work. After the batteries charged for about a half hour, we took the board out for a spin and they worked for about 15 minutes!
This was great, however we made a fatal mistake. By not letting all the cells charge fully, the cells were not balanced before use. This meant some cells started at a lower voltage than the rest, and as the battery was discharged they were drained to below their stable voltages before the under-voltage protection kicked in.
In a balanced battery, all the cells have the same voltage, so the under-voltage threshold is about 48 V (3.0 V * 16). However in an unbalanced battery with two cells a volt lower than the rest, they can fall into critical undercharge levels without triggering the under-voltage. If we keep the threshold at 48 V, we can solve for the healthy cell voltage (\(v\)) with two cells a volt lower than the others, that it take to be at 48 V.
$$ 14v + 2(v - 1) = 48 $$$$ 14v + 2v - 2 = 48 $$
$$ 16v - 2 = 48 $$
$$ 16v = 50 $$
$$ v = 3.125 $$
So the voltage on the healthy cells would be 3.125 V, but for the two that weren’t balanced before are down at 2.125 V. This is below the critical threshold for the cell chemistry (3.0 V) and leads to irreversible damage if not immediately remedied. This under-voltage happened to two of the cells on the battery, so the next day I had to buy two cells at a vape store and replace the damaged ones. This required me to tear apart much of the work I did the day before, but alas, it had to be done.
I was impressed I managed to complete the job in the couple of hours I had before I had to catch my flight. Since I left for my flight shortly after the repair I have yet to see that battery run from a full charge. I also have yet to see the other battery I repaired in operation since it was doing its first full charge as I was completing my repairs that morning.
Outcomes
I replaced the cells that made these two batteries and learned a quite few things along the way. My friends got to enjoy trying some of the repair work out for themselves.
I’ve kept in touch with them since I’ve left. The batteries have been put to use and they’re enjoying their new working toys! Originally they had issues with balance, but that turned out to be the result of them needing to calibrate the boards with a phone app they were previously unaware of. With that ironed out they’ve been cruising on them without issue.